
Tips for Looking Better On Video Calls - FaceTime, zoom, Skype, Teams
Now that we’re using video conferencing more and more, here are some tips to look better and stand out when you’re “on camera”.
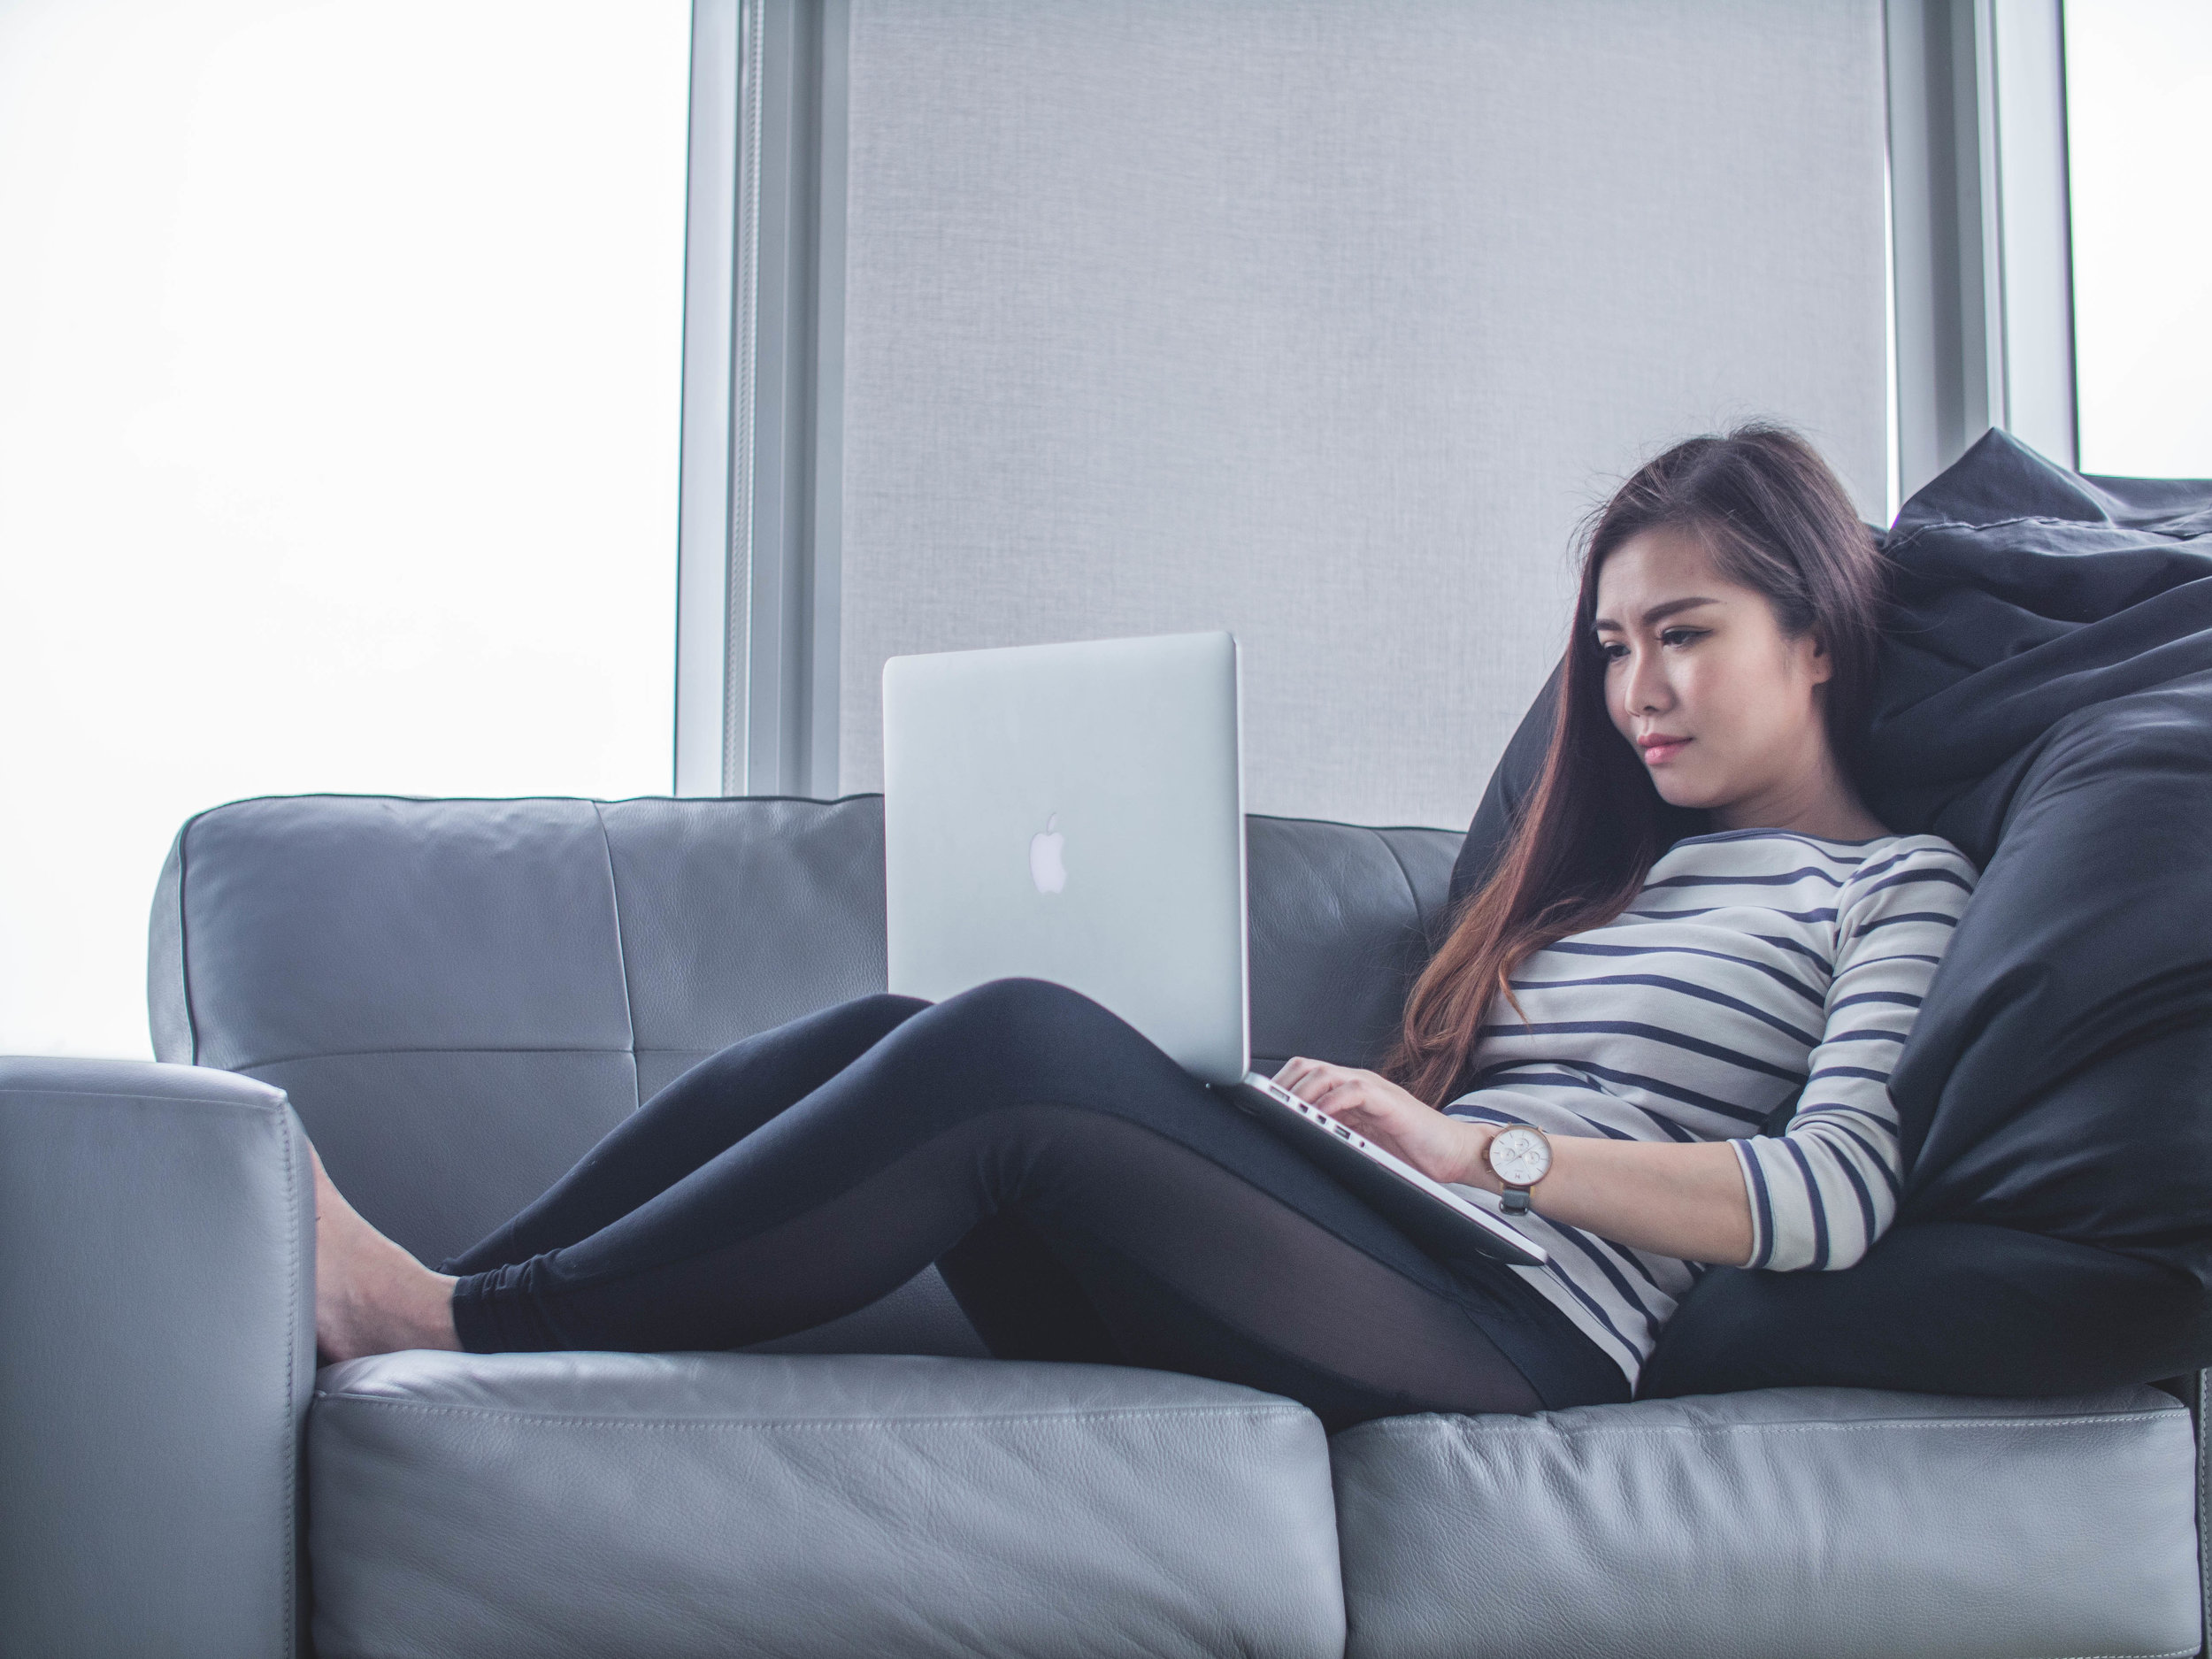
You might be comfortable with your laptop…well, on your lap. But it’s not the best place for a video call. When your laptop is on your lap or even on your desk, it usually means you’re looking down at the camera, which means that your viewers are looking up at you from below. That’s not a great angle, not flattering and gives the appearance that you’re looking into a hole.
But the good news is that it’s not too hard to make it better.

TIP 1: Eye-Level
The best thing you can do is to get that camera higher. You want to have the camera at eye-level or even slightly higher than eye-level. I don’t recommend holding your laptop up in the air. Strong as you may be, you won’t last too long like that. Probably the quickest thing you can do is grab some books (if you still have books) and stack them up so that your laptop can rest with the camera at eye-level. Other things around your home might work too…a box, a kitchen-container (upside down). Whatever you choose, be sure it’s wide enough and stable for your laptop.
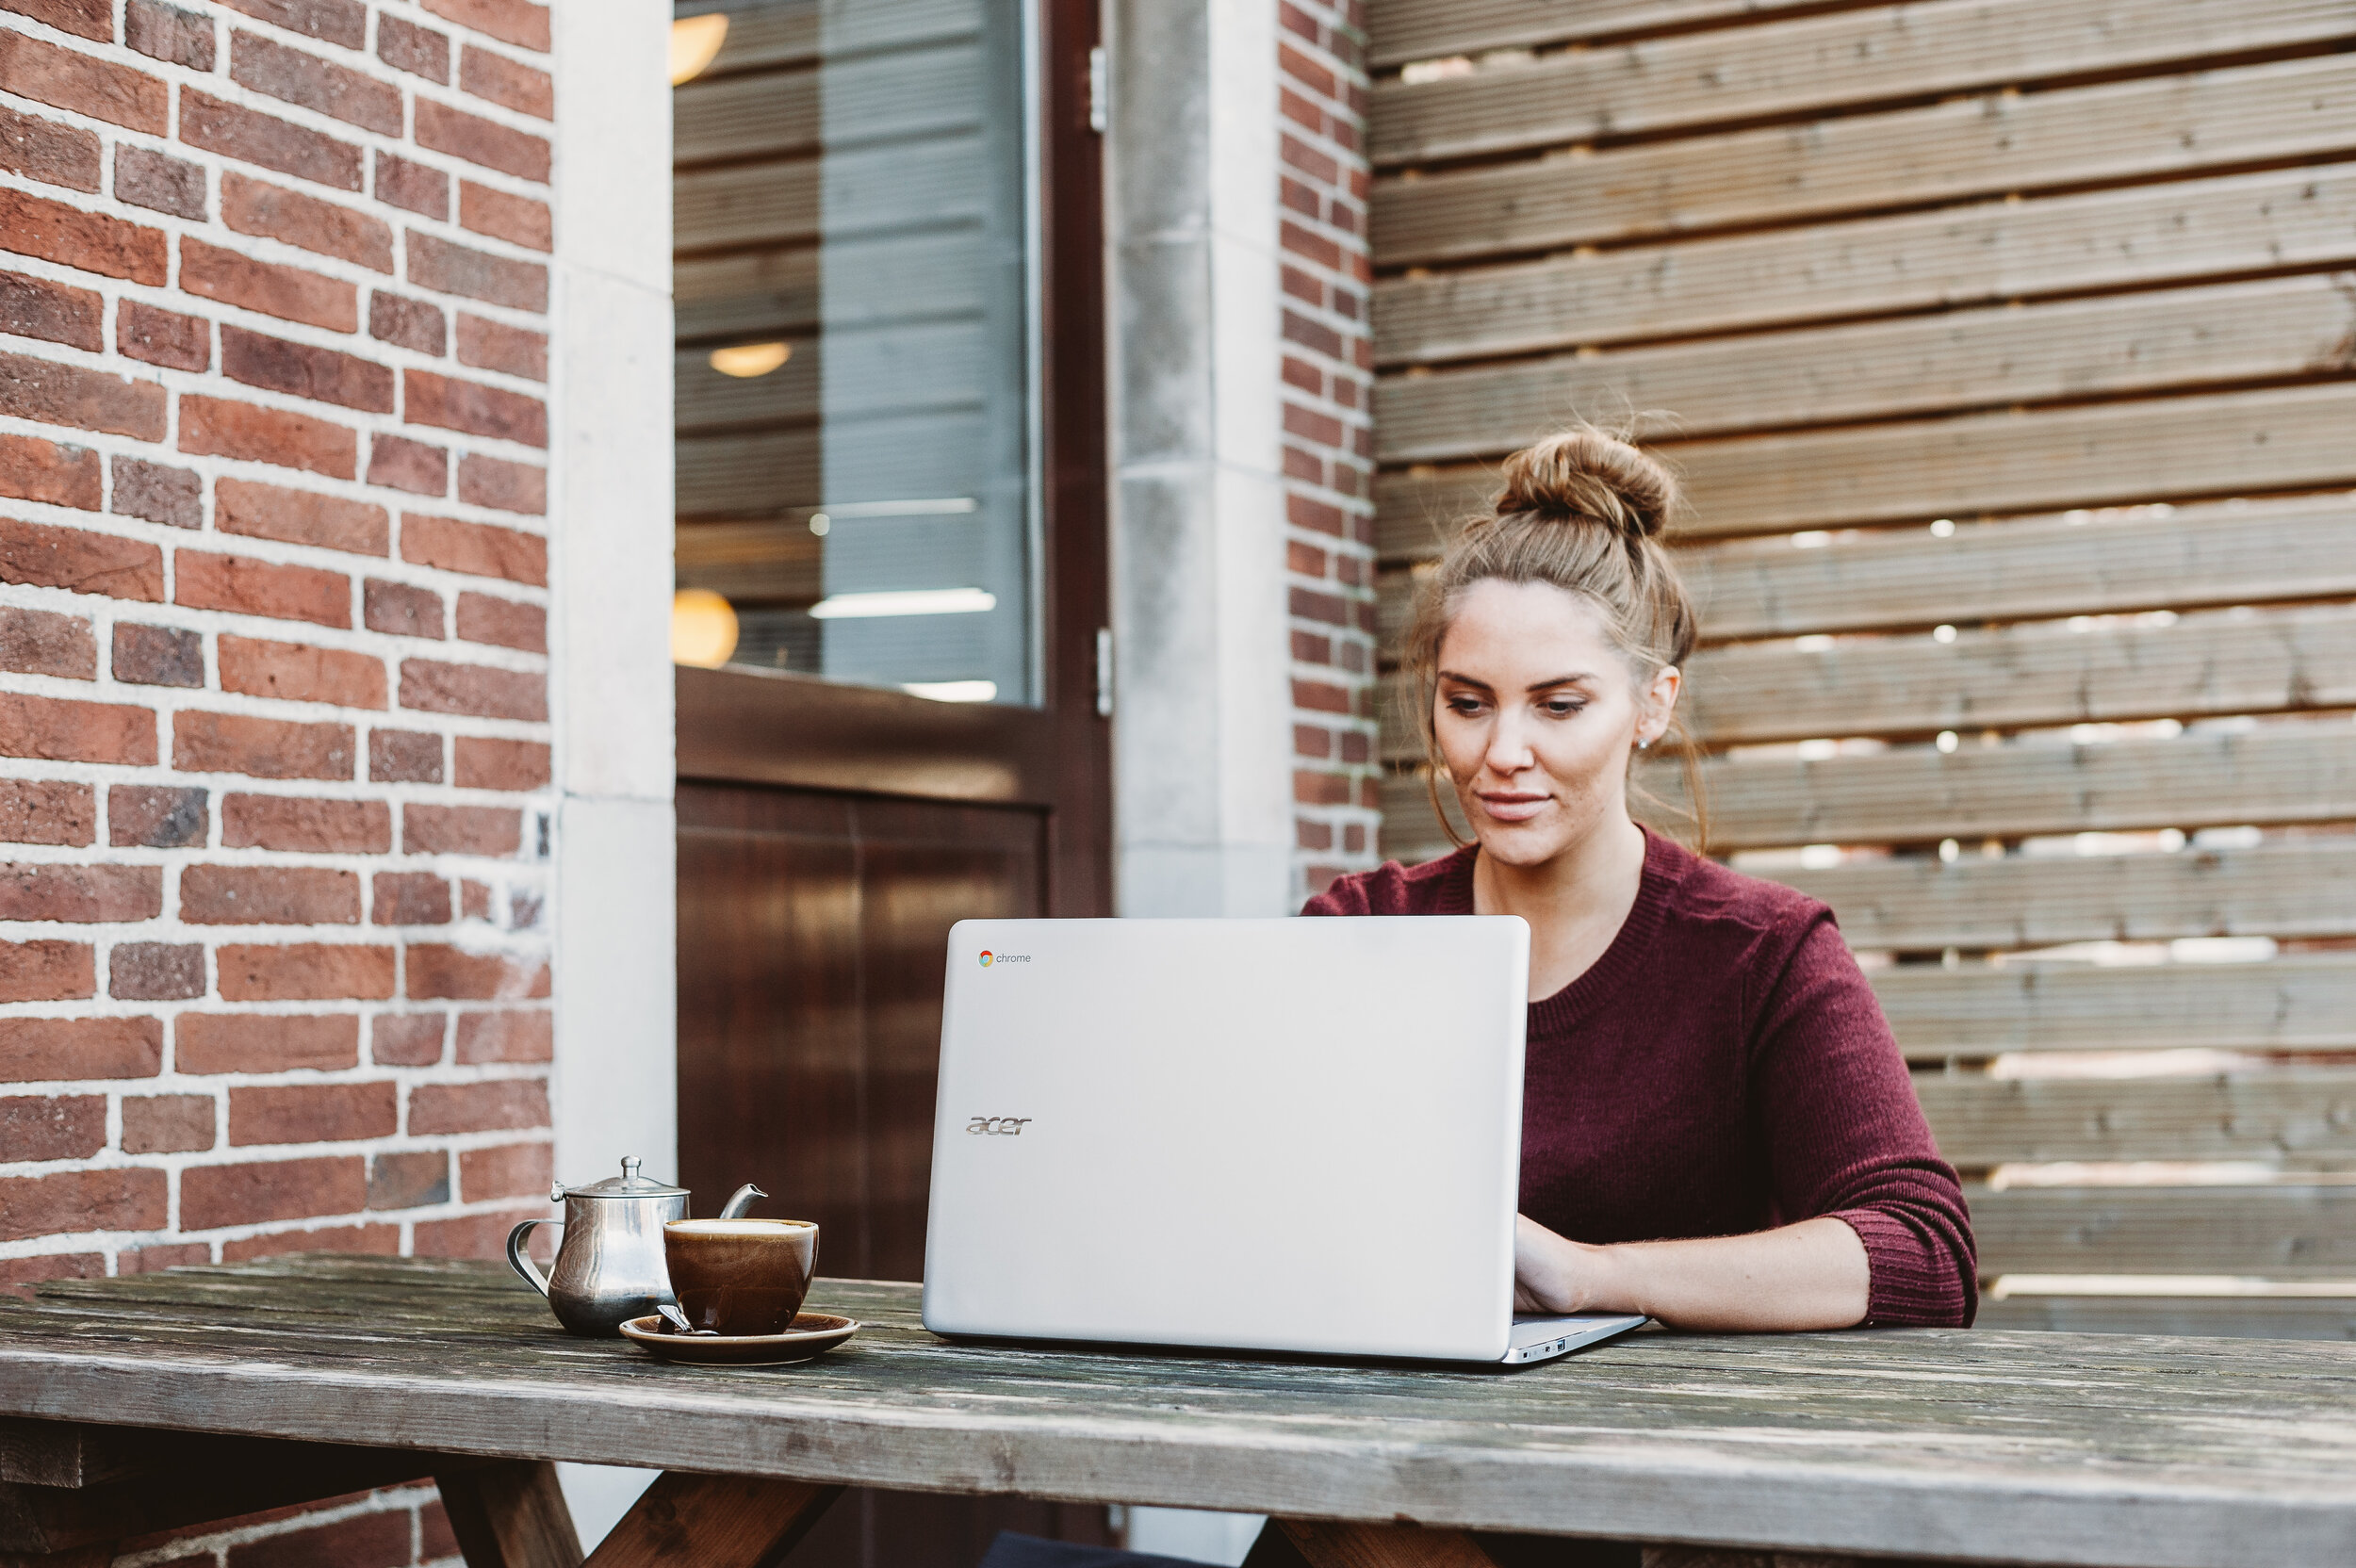
To take it up a notch and have a more stable platform, I use an adjustable laptop stand (Amazon) like the one shown here. This has two important benefits. First, it raises your laptop so that the camera is at eye-level. Second, and maybe even more important, it improves your posture when sitting at a desk.

I recommend an adjustable stand so that you can set it to the height that fits you best. You can use this link for a full search on Amazon.
You’ll see that a stand like this also raises the keyboard, which might make it uncomfortable for typing. You could limit your use of the stand to your video calls since your attention is sure to be glued to the screen without distraction or a need for typing (right?). But if you like the idea of elevating your laptop, the next gadgets that make this a great set up are a wireless mouse and keyboard (Amazon).
TIP 2 - Composition
After shooting a ton of headshots, I can tell you that composition makes a huge difference when you’re on a video conference (and in headshots too). Try to position the camera so that your head is towards the top of the screen.

Bad composition

Good composition
TIP 3 - Lighting
Lighting is SOOO important. If you can, sit in front of a nice light source, which could be a window. Try to face the window so that it’s not on one side of your face and definitely NOT behind you. With the light behind you, your face will go dark, like a silhouette.

The most flattering light is when the light is in front of you and a little above if possible.
If you don’t have a window, you can use a lamp or you can purchase an inexpensive video light.

This is an example that can also be used with your mobile phone: Yongnuo LED Ring Light (B&H). And here’s a popular option on Amazon that is USB powered so you can plug it into your laptop. Ring Light Tripod Kit or Ring Light w/ Stand (Amazon).
There’s also a new light that you can fix to your laptop with a suction cup. It’s from Lumecube. They make small lights for video and photography. Check it out here: Lume Cube Air VC (B&H) or directly from Lume Cube here.
Here’s another inexpensive option: Bescor LED Light Kit (B&H).
Some options are in high demand, as you can imagine.
TIP 4 - Background
Try to keep the space behind you clean and neat. Clutter makes your background less appealing. You can also dress up the background with a plant or an interesting antique. But just one or two items is enough.
If you’re using zoom, you can try out the fake background effect. Go to Settings/Preferences and select Virtual Background. There you can choose from a few provided backgrounds like the Golden Gate Bridge or you can upload your own photo. Maybe one from a vacation. Try to pick a photo without too much going on.
You can also try out the green screen option if you happen to have a green screen lying around. No? Actually, using a green screen is easier than you might think and is especially good if you’re in tight space or in one that you’d prefer to keep private. Here’s a pop-up screen (Amazon) that actually hooks onto your chair and folds down nicely for storage.

Here’s another pop-up option that’s green on one side and blue on the other. You’ll probably want a stand so you can place it where you like.


This is my favorite background stand by Lastolite (B&H).

Once you have your green screen in place, your virtual background will look so much better and you can keep what’s behind you to yourself. Don’t forget to switch on the setting for green screen in zoom.
Bonus Tip - External Microphone
Most of us don’t have a recording studio in our home, which means you could get a lot of echo on your audio. That can make it hard for others to hear and understand you.
An easy fix is to use the earpiece with the microphone that comes with your mobile phone. Or you could use a Bluetooth headset.
Having the mic closer to your mouth will improve your audio and cut out some of the echo.
If you don’t have something already, here are some suggestions:
Here’s a Microsoft over-ear headset with a noise-canceling microphone (B&H)
Here’s a comfortable over-ear headset (B&H) that can plug into your computer’s USB port.
I hope these tips help. Feel free to get in touch if you have questions about these tips or if you’d like to take it up a few notches with even better lighting, camera and microphone options like the gear we use for creating videos for business.